As homeowners, we all encounter plumbing issues from time to time. From a clogged drain to a leaky faucet, these problems can be frustrating and inconvenient. However, with a little knowledge and the right tools, many of these common plumbing issues can be easily fixed by yourself. In this article, we will explore some easy DIY solutions to tackle these problems and unlock your plumbing potential.
Benefits of DIY Plumbing Solutions
There are numerous benefits to tackling plumbing issues yourself. First and foremost, it can save you a significant amount of money. Hiring a professional plumber can be costly, especially for minor repairs. By learning some basic plumbing skills, you can avoid unnecessary expenses and gain a sense of accomplishment by fixing the problems on your own.
Secondly, DIY plumbing solutions provide greater control and flexibility over household maintenance. You no longer have to rely on someone else’s schedule or availability. Instead, you can address the issues at your convenience and in a timely manner, preventing further damage or inconvenience.
Finally, developing DIY plumbing skills can empower you as a homeowner. By understanding how your plumbing system works and how to fix common issues, you become more self-reliant and confident in maintaining your home. This knowledge can also come in handy during emergencies when professional help may not be readily available.
Essential Tools for DIY Plumbing
Before you embark on any plumbing project, it is essential to have the right tools at your disposal. Here are a few basic tools that every DIY plumber should have:
Plunger: A plunger is a versatile tool that can help unclog drains and toilets. It works by creating suction and dislodging debris.
Pipe Wrench: A pipe wrench is used to tighten or loosen pipes and fittings. It has adjustable jaws that can grip pipes of various sizes.
Adjustable Pliers: Adjustable pliers, also known as channel-lock pliers, are used for gripping and turning nuts, bolts, and pipes. They provide a strong grip and can be adjusted to fit different sizes.
Pipe Cutter: A pipe cutter is used to cut pipes cleanly and accurately. It is especially useful when replacing or repairing sections of pipes.
Teflon Tape: Teflon tape, also known as plumber’s tape, is used to seal pipe threads and prevent leaks. It is a thin, white tape that is wrapped around the threads before connecting pipes or fittings.
Auger or Snake: An auger or snake is a flexible tool used to clear clogs in drains or toilets. It can reach deep into pipes and break up blockages.
Having these essential tools in your toolbox will enable you to handle most DIY plumbing tasks with ease.
Basic Plumbing Knowledge Every Homeowner Should Have
While it’s not necessary to become a professional plumber, having some basic plumbing knowledge can go a long way in handling common household issues. Here are a few key concepts that every homeowner should be familiar with:
Water Shut-Off Valve: Locate the main water shut-off valve in your home. This valve controls the water supply to your entire house and should be turned off in case of emergencies or when making repairs.
Drainage System: Understand how the drainage system in your home works. This includes knowing the location of cleanouts, vents, and traps. Clearing blockages becomes easier when you understand the flow of water through your pipes.
Water Pressure: Learn how to measure and regulate water pressure in your home. High or low water pressure can lead to various plumbing issues and should be addressed accordingly.
Piping Materials: Familiarise yourself with the different types of piping materials used in your home, such as copper, PVC, or PEX. This knowledge will help you choose the right tools and techniques for repairs or replacements.
By acquiring this basic plumbing knowledge, you will be better equipped to handle common household plumbing issues effectively.
Unclogging a Drain: Step-by-Step Guide
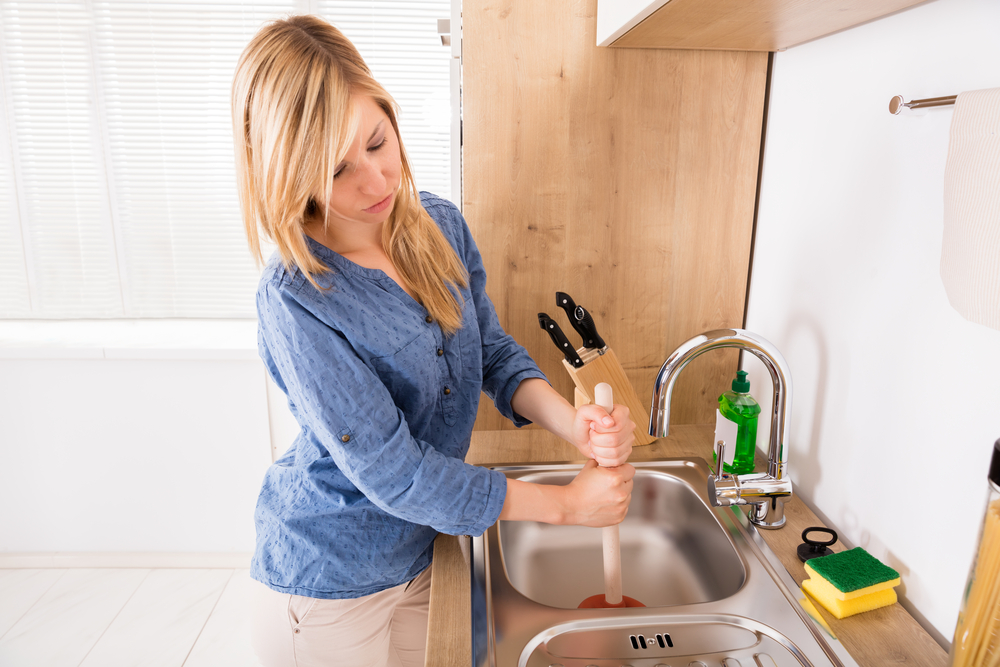
One of the most common plumbing issues homeowners face is a clogged drain. Whether it’s in the kitchen sink, bathroom, or shower, a clog can disrupt your daily routine. Here’s a step-by-step guide to unclogging a drain:
Remove any visible debris: Start by removing any visible debris from the drain. Use gloves or a tweezer to pull out hair, food particles, or other foreign objects that may be causing the clog.
Plunge the drain: Place a plunger over the drain and ensure a tight seal. Push up and down vigorously to create suction and dislodge the clog. Repeat this several times until the water starts draining freely.
Use a drain snake: If plunging doesn’t work, use a drain snake or auger. Insert the snake into the drain and rotate it clockwise while pushing it further into the pipe. This will help break up and remove the clog.
Flush with hot water: After removing the clog, flush the drain with hot water to ensure any remaining debris is washed away. This will help prevent future clogs.
Remember to exercise caution when using chemicals or commercial drain cleaners, as they can be harmful to your pipes and the environment. If DIY methods don’t solve the problem, it may be necessary to call a professional plumber.
Fixing a Leaky Faucet: Troubleshooting and Repair Tips
A leaky faucet is not only annoying but can also waste a significant amount of water if left unfixed. Here are some troubleshooting and repair tips to fix a leaky faucet:
Determine the type of faucet: Different types of faucets require different repair techniques. Common types include compression faucets, ball faucets, cartridge faucets, and disc faucets. Identify the type of faucet you have before proceeding with repairs.
Turn off the water supply: Before starting any repairs, turn off the water supply to the faucet. This can usually be done by shutting off the corresponding water valve under the sink.
Replace the O-ring or washer: In many cases, a leaky faucet is caused by a worn-out O-ring or washer. Remove the faucet handle, locate the faulty component, and replace it with a new one. Be sure to use the correct size and type for your faucet.
Clean or replace the cartridge or valve: If the O-ring or washer replacement doesn’t solve the issue, the problem may lie in the cartridge or valve. Remove and inspect these components for any damage or buildup. Clean or replace them as necessary.
Reassemble and test: Once the necessary repairs are made, reassemble the faucet in the reverse order. Turn on the water supply and test for any leaks. If the faucet is still leaking, it may be best to consult a professional plumber.
Fixing a leaky faucet can often be a straightforward DIY project that saves you money and conserves water. However, if you are unsure or uncomfortable with the repair process, it’s always wise to seek professional help.
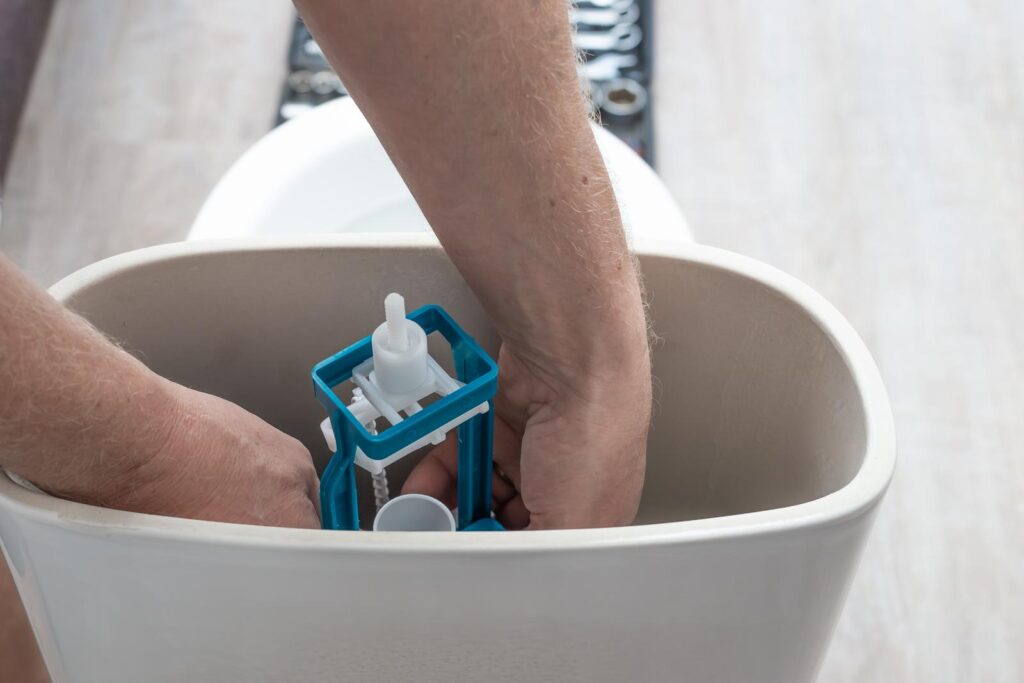
Repairing a Running Toilet: Common Causes and Solutions
A running toilet can be a nuisance and waste a significant amount of water. Here are some common causes and solutions to repair a running toilet:
Check the flapper: The flapper is a rubber valve that controls the flow of water from the tank to the bowl. If it’s worn out or not sealing properly, it can cause the toilet to run continuously. Inspect the flapper and replace it if necessary.
Adjust the float: The float regulates the water level in the toilet tank. If it’s set too high, water can continuously flow into the overflow tube, resulting in a running toilet. Adjust the float to the correct position, usually indicated by a marked line on the fill valve.
Clean or replace the fill valve: The fill valve is responsible for refilling the toilet tank after each flush. Over time, it can become clogged or malfunction, leading to a running toilet. Clean the fill valve or replace it with a new one if needed.
Check for leaks: Inspect the various connections and seals in the toilet tank for any leaks. A leak can cause the toilet to refill, resulting in a running toilet continuously. Tighten loose connections or replace faulty seals to resolve the issue.
Consider replacing the flush valve: If all else fails, the problem may lie with the flush valve. The flush valve controls the release of water from the tank into the bowl during a flush. If it’s not working correctly, it can cause a running toilet.
Consult a professional plumber for assistance with replacing the flush valve.
Dealing with Low Water Pressure: Causes and Fixes
Low water pressure can be frustrating, especially when it affects multiple fixtures in your home. Here are some common causes and fixes for low water pressure:
Check the main water valve: Ensure that the main water valve is fully open. Sometimes, it can become partially closed, resulting in low water pressure throughout the house. Turn it clockwise to open it fully.
Remove mineral deposits: Over time, mineral deposits can accumulate inside pipes and fixtures, reducing water flow and causing low pressure. Clean or descale faucets, showerheads, and aerators to remove these deposits and restore water pressure.
Check for leaks: Inspect your plumbing system for any leaks. Even a small leak can significantly affect water pressure. Look for signs of water damage, such as damp walls or ceilings, and address any leaks promptly.
Replace old pipes: If your home has old galvanised pipes, they may be corroded or clogged, leading to low water pressure. Consider replacing these pipes with newer materials like copper or PEX to improve water flow.
Install a pressure booster pump: If low water pressure persists despite other fixes, installing a pressure booster pump can help increase water pressure throughout your home. Consult a professional plumber for guidance on selecting and installing the right pump for your needs.
By identifying the cause of low water pressure and implementing the appropriate fixes, you can restore proper water flow and enjoy a more efficient plumbing system.
Preventing and Fixing Pipe Leaks: Proactive Measures and Repair Techniques
Pipe leaks can cause significant damage if left unaddressed. Here are some proactive measures and repair techniques to prevent and fix pipe leaks:
Insulate pipes: Insulating exposed pipes can protect them from freezing during cold weather, which can lead to pipe bursts. Use pipe insulation sleeves or foam wraps to provide a barrier against the cold.
Monitor water pressure: Excessively high water pressure can put stress on pipes, increasing the risk of leaks. Use a pressure gauge to measure the water pressure in your home. If it’s consistently above the recommended range, consider installing a pressure-reducing valve.
Regularly inspect pipes: Periodically inspect your plumbing system for any signs of leaks or corrosion. Look for damp spots, water stains, or rust on pipes. Address any issues promptly to prevent further damage.
Use pipe sealants: Apply pipe sealants, such as Teflon tape or pipe dope, to threaded connections to ensure a watertight seal. This can help prevent leaks at joints and fittings.
Repair small leaks promptly: If you discover a small leak, take immediate action to fix it. Depending on the severity of the leak, you may be able to patch it temporarily using epoxy putty or pipe clamps. However, it’s best to consult a professional plumber for a long-term solution.
By taking proactive measures to prevent pipe leaks and addressing any issues promptly, you can avoid costly repairs and potential water damage to your home.
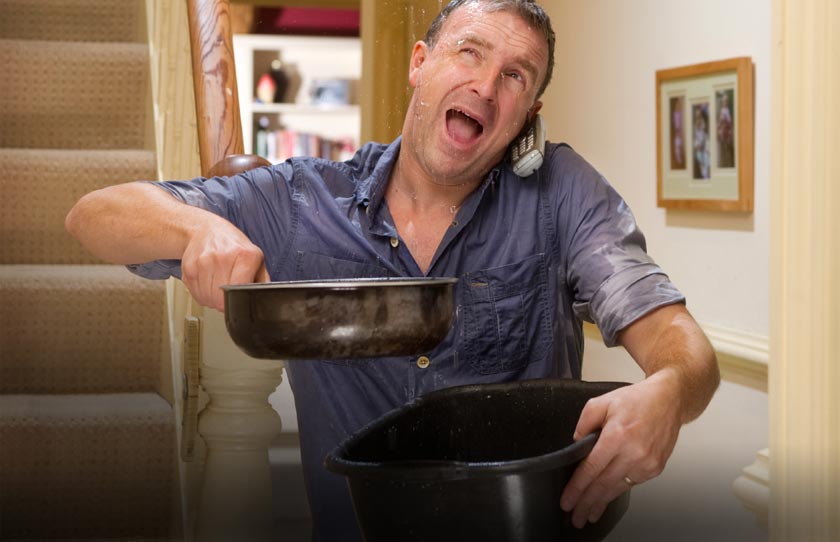
When to Call a Professional Plumber: Signs that DIY Isn’t Enough
While many plumbing issues can be successfully tackled through DIY solutions, there are instances when it’s best to call a professional plumber. Here are some signs that DIY isn’t enough:
Complex plumbing projects: If the plumbing problem is complex or requires specialised knowledge or equipment, it’s wise to seek professional help. This includes major pipe replacements, sewer line repairs, or extensive bathroom or kitchen renovations.
Persistent or recurring issues: If you’ve attempted DIY repairs but the problem continues to persist or keeps recurring, it’s a sign that there may be an underlying issue that requires professional attention. A plumber can diagnose the problem accurately and provide a long-lasting solution.
Safety concerns: Plumbing projects that involve working with gas lines, water heaters, or sewer systems can pose safety risks. It’s best to leave these tasks to professionals who have the necessary expertise and experience to handle them safely.
Time constraints: If you lack the time or availability to dedicate to plumbing repairs, it may be more convenient to hire a professional plumber. They can quickly and efficiently resolve the issue, allowing you to focus on other priorities.
Remember, DIY plumbing is empowering, but it’s essential to recognise your limitations and seek professional help when necessary. A professional plumber can ensure the problem is resolved correctly and prevent further damage or complications.
Some Professional Plumbers in Wellington:
Plumber in Thames
Conclusion: Empowering Homeowners with DIY Plumbing Skills
By acquiring some basic plumbing knowledge and learning a few essential DIY plumbing skills, homeowners can unlock their plumbing potential. Tackling common household plumbing issues not only saves money but also provides a sense of accomplishment and self-reliance.
Many problems can be easily resolved with the right tools and techniques, from unclogging drains to fixing leaky faucets and running toilets. However, it’s important to know when to call a professional plumber for complex issues or safety concerns.
By taking a proactive approach to plumbing maintenance, homeowners can prevent costly repairs and keep their plumbing systems in optimal condition. So, empower yourself with DIY plumbing skills and confidently tackle common household plumbing issues as they arise.
